Ankarsrum Mixer
For the longest time, I thought a mixer meant: Kitchenaid. And to be clear, I love my Kitchenaid mixer. But increasingly, there’s a new mixer in town. It’s not new to Swedish bakers since it comes from Sweden but it is somewhat new to us. The mixer is called the Ankarsrum mixer, built in Ankarsrum, Sweden many decades ago. Here’s some intel on the Ankarsrum.
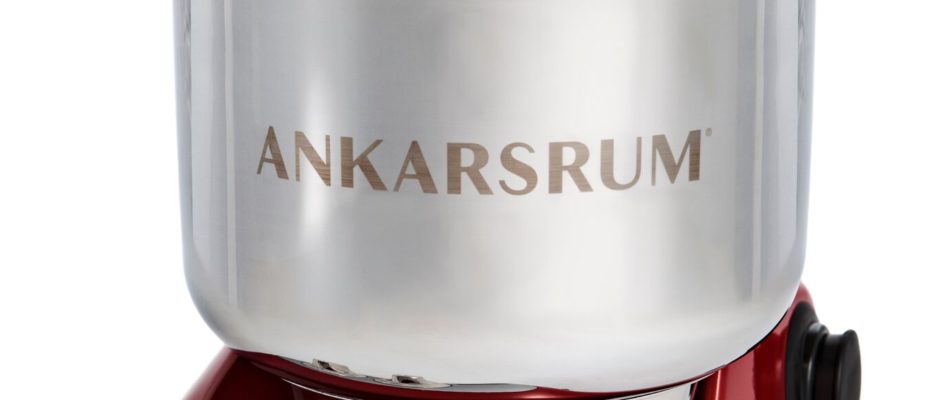
The Ankarsrum is a beauty that sits solidly on the counter, fully crafted with a 7.5 quart stainless steel bowl that can hold over 8 lbs of flour (that’s almost ten loaves of bread) or blend silky cake batters or best yet, can mount over a dozen egg whites or just one (yes, just one!). Similarly, for cookie doughs, cakes, and squares etc., regardless that the Ankarsrum is hefty, it manages large and small batches of whatever you’re making with equal efficiency.  (You have an option of speed from 40 to 180 RPM.)
(What’s really interesting about the whisk attachment, by the way, is that its driven from below via a center column in the special, clear (“egg white “) allowing you unobstructed access to the mixture at hand. But the attribute of being able to mix a range of batch sizes is huge. It’s a big problem solver when you’re considering a mixer that can do one batch of Tollhouse Cookies or 3-4 large Country French Breads.
The original mixer comes with a wide choice of accessories from pasta maker, sausage attachment, cookie press, juicer but the roller blade, scraper, cake beater whisk and dough hook are standard. The mixer is also exceptionally quiet and low enough, despite its capacity, to sit underneath most standard cabinetry. Another bonus is that it comes with a timer on the mixer or you can just turn the mixer on and it will run indefinitely.
The Ankarsrum Original mixer is lovingly named a ‘work horse’ by its fans, it measures 13 by 10.5 by 15.7, weights 19 lbs., comes in a full range of colours, and offers a manufacturer’s warranty covering the motor and drive train for seven years and all other parts for one full year. Since the Ankarsrum uses a direct belt drive system, versus the all-gear drives used in mass marketed mixers, you can count on especially responsive performance and maximum or more usable power than mixers rated with higher wattage.
To be honest, baking with an Ankarsrum is a learning curve adventure. What you need to know about the Ankarsrum is that it is not a planetary mixer like Kitchenaid or Cuisinart. Instead, the stainless steel bowl (used for bigger batches or breads) revolves and the attachments stay still. For the smaller (plastic) mixing bowl, the attachments do move and the bowl stays still. The two standards attachments include the roller blade that is for cakes, cookies and most breads. For more rustic breads, there is a dough book attachment. There’s also a side blade attachment that gathers any excess from the sides and incorporates it into the dough. There is a whisk which is for cakes, cookies and egg whites and it’s used with the smaller bowl.
Some Ankarsrum bakers start a bread with the roller blade attachment and then ‘punch’ down the bread (in the bowl) after the first rise.
Remember, you can also always adjust the arm to position the attachments and there is easy access to bowl (and ingredients, batter, dough, etc.) given it’s open top, wide design.
To see the Ankarsrum in action, check out these videos https://www.youtube.com/watch?v=g03vzFqZ8dA
https://www.youtube.com/watch?v=LJm9Ex9MLOI&t=442s
https://www.youtube.com/watch?v=zMB4CVG5fLs
To purchase an Ankarsrum, contact www.jalyns.ca  or https://www.ankarsrumoriginalusa.com/
We fiddled around with a few recipes with this mixer and loved the results. We cannot recommend it highly enough. Since sourdough bread is something we all love, here’s a Betterbaking.com Easy Sourdough Bread to try out with your Ankarsrum.

Easy Quick Sourdough Country Bread
This is not a straight dough bread nor a real sourdough; it is an in-between dough. What it has going for it is that it is easy as a straight dough bread, only requires a little pre-planning and yet offers a sourdough rustic taste, as well as a lot of sourdough character in the crust and crumb. What I like about this bread is that it is good fresh or days old, toasted or not. I used to make 30 of these every month and freeze them. Now I make 3–4 big ones every other week, freezing three and enjoying one. Yes –it also freezes like a dream. I’ve played with this recipe over the years and this newest version is my favorite. Overnight sourdough starters are also called poolish by European bakers.
8 to 16 hours ahead
Sponge or Poolish Starter
1 ½ cups room temperature water
1/4 teaspoon instant yeast
1 1/2 cups, approximately bread flour or organic white bread flour
Dough
(all of) starter above
1 ½ cups warm water
½ teaspoon instant yeast
2 tablespoons olive oil
2 3/4 teaspoons salt
1 tablespoon sugar
1/2 teaspoon rapid rise yeast
4–6 cups bread flour
The night before or up to 16 hours before: In a small bowl, stir together the water and yeast and let yeast dissolve by briskly whisking.
With a whisk or medium wood spoon, stir in bread flour, whole wheat and rye flour to make a thick mixture. It should be like a thickened, gloppy pudding.
Cover bowl lightly with plastic wrap (leaving a small air space) and let stand at room temperature 8 to 16 hours.
To make the bread, stir down the starter to deflate it. Spoon it into the mixer bowl with the roller blade attachment and side blade. Mix in the water, yeast, oil, salt and sugar and most of the flour. Stir to make a messy mass and then lightly cover the bowl and let stand 15 minutes. Then mix until dough is smooth and resilient but not tough and bouncy, adding in flour as required. Remove the roller blad and side blade. Cover entire machine and bowl with a large clear plastic bag. Let rise until almost doubled 90 minutes to 2 1/2 hours (it really depends on the dough and the temperature of the kitchen).
Turn the dough out onto a lightly floured work surface and gently deflate. Divide dough in two (or keep it as one large bread) and form into two taut balls.
Stack two baking sheets together and line the top one with parchment paper.
If your oven and baking sheet cannot accommodate two breads, prepare another set of sheets to bake second bread.
Gently the two balls of dough, seam side down, on the baking sheet(s). Line the top sheet with parchment.
Spray dough lightly with a nonstick cooking spray. Cover the baking sheet lightly with a large plastic sheet. Let dough rise until ball is puffy (40% to 55% larger).
Preheat oven to 475 F.
Slash loaves with a sharp knife before baking. Spray with water (plant atomizer) and dust with flour. (If dough deflates when you slash it, it rose too much but it might recover with the oven heat to help it spring back. If not, remember for next time!).
Atomize oven with a few squirts of water and place baking sheets on lowest rack of oven. Spray oven interior every five minutes for the first 15 minutes. When 20 minutes remain, reduce heat to 425 F. to finish baking. Loaf should be well browned after 25–35 minutes. Cool well on rack before slicing. To store, keep in a loosely sealed plastic bag (which softens crust but keeps bread moist) or in a brown paper backed, lightly sealed).
Makes 1 large or two medium breads.


No comments yet.